For a few years now, I've been building all of my encounter maps in photoshop, and usually losing hours worth of detail upon printing them out, plus having to constrain my map proportions to 8.5 x 11 sheets of paper.
Having a horizontal monitor to run my miniatures on would pay for itself in printer ink, and allow me to run interactive imagery like fog of war, lighting effects, and discovered items all on seperate layers.
So, after a day of searching on Craigslist, I was able to get a used Dell monitor for 40 dollars,

and a nice, four person table for 50. Throw in a scrap piece of plexi glass and some wood-filler, and this entire project comes in at 100 dollars.

From here down will be a bit of a tutorial, since I read a number of these table-mod tutorials before starting, and wanted to do the same for future table-ruiners.
As part of the kitchen renovations, we had picked up a dark cherry stain for the kitchen countertops, this seemed like a good project to test out our staining skills, since darker colors will make the monitor look brighter, in comparison.
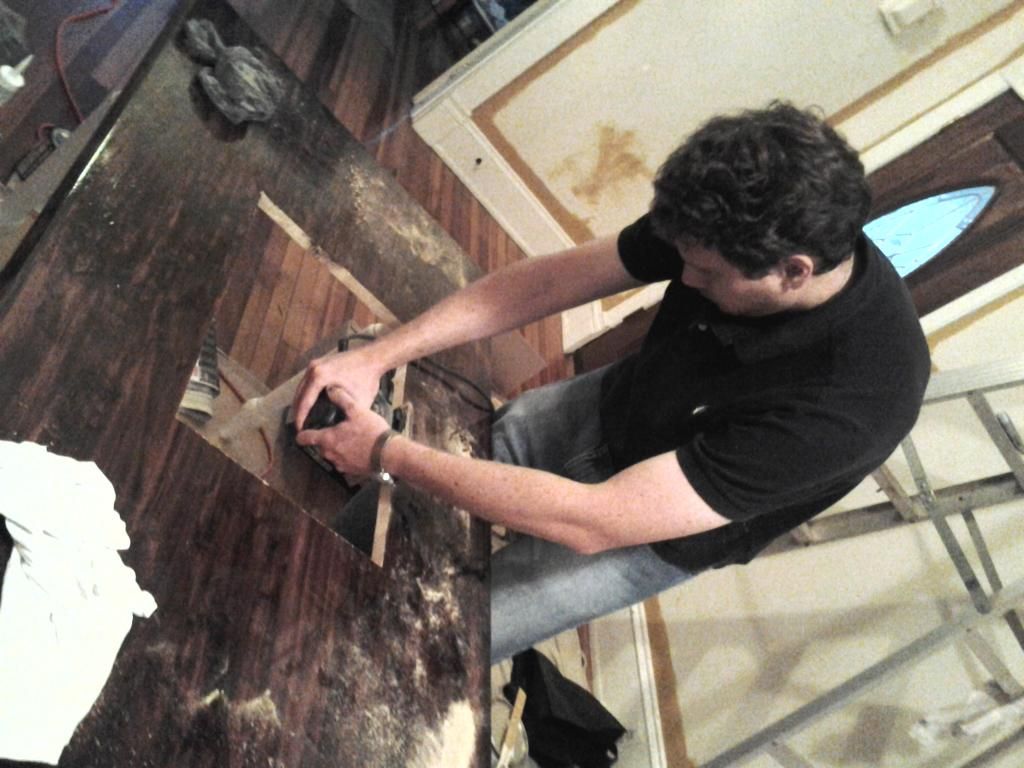
Using a palm sander, I sanded down the finish, and my darling wife stained the table, then we measured (and measured, and measured) and drew out the initial cuts for the monitor itself.

After drilling out the corners, I connected the dots with the jigsaw, until we had our initial fit.

My best friend Jeff working on the final fitting for the monitor. We had to sand and test-fit probably 20 times.
It's good to have someone hold the monitor from the bottom as you're checking all the edges,
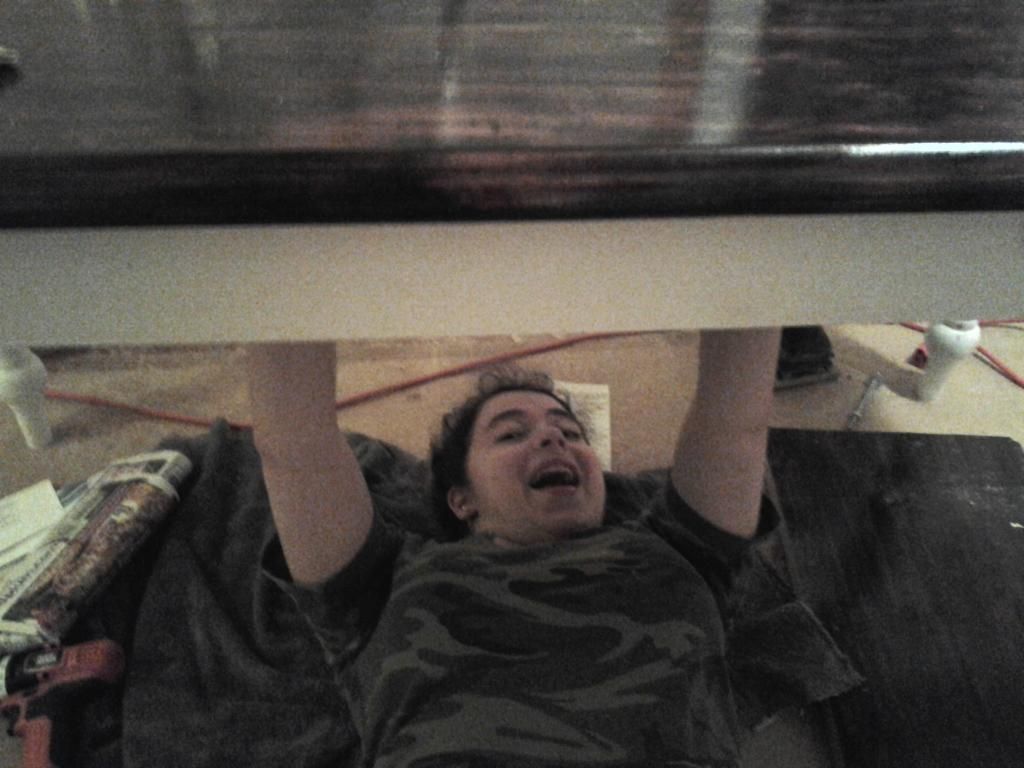
And then, finally, it fits!
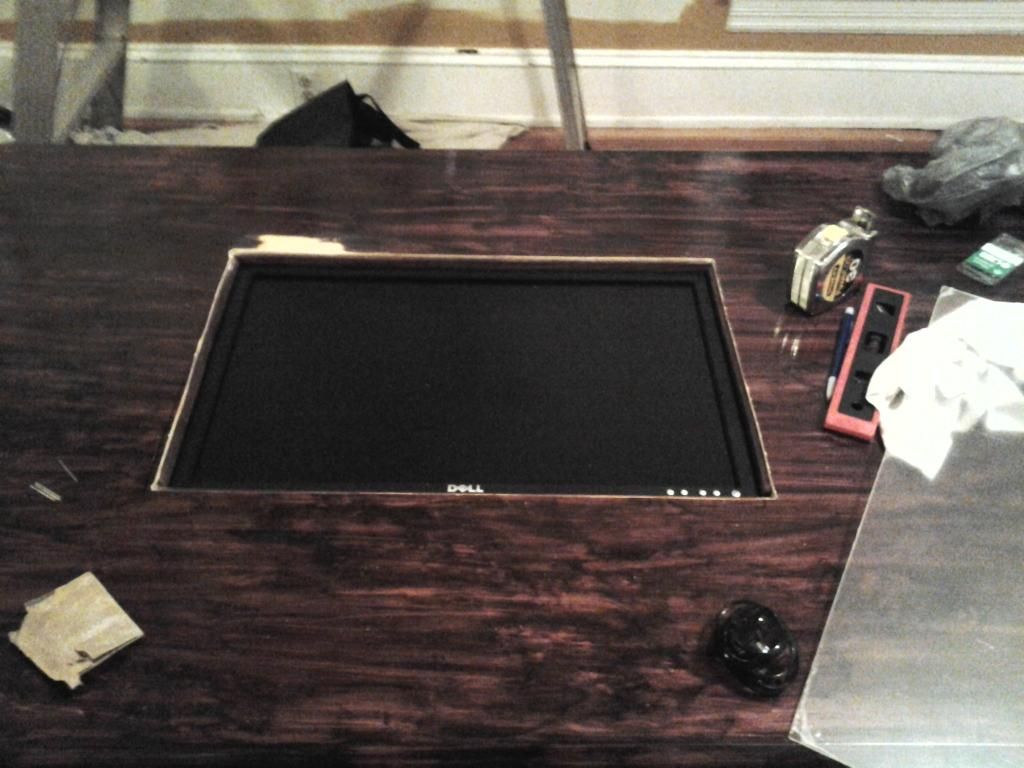
We put in a small 1/4 inch strip of wood around the inside of the hole, about 1/8th inch below the surface, to act as a shelf for the plexi glass.
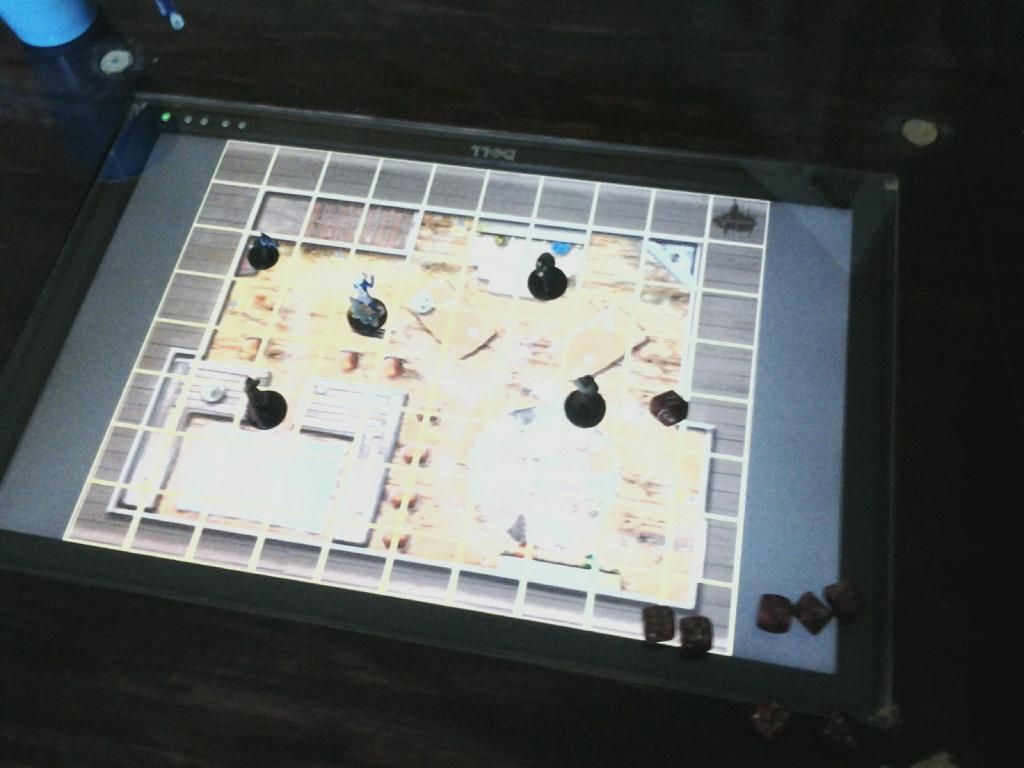
And here was the very first game night! The four carriage bolts have two washers and two nuts on the underside, supporting a piece of 1/2 inch birch for the monitor shelf.
No comments:
Post a Comment